Painting plastic parts is not just a color-selection step. Surface preparation determines what remains visible through the finish, the coating system must be compatible with the substrate, and paint build can change how components fit together. A useful painting specification therefore connects appearance, manufacturing and assembly requirements before the first sample is sprayed.
This guide covers custom CNC-machined, injection-molded, 3D-printed and vacuum-cast plastic parts. It explains how to define the finish, plan preparation, allow for coating thickness, identify likely sources of defects and agree on acceptance. The focus is industrial product development and manufacturing, rather than choosing a general-purpose aerosol for a household object.
The most useful starting point is a marked drawing and an approved appearance reference. Identify which surfaces receive paint, which dimensions apply after finishing, and how the customer will judge the result. A request for a white, smooth, high-quality part leaves too many of these decisions unresolved.
Define What the Painted Finish Must Achieve
Start with the purpose of the finish. A presentation prototype may need the intended color, gloss and graphics so that a design team can review its appearance. An assembly prototype may also need working buttons, fitted covers and accessible connectors. A production component may require a separately defined level of wear resistance or resistance to a particular cleaning agent.
These objectives are related, but they are not interchangeable. An approved visual sample establishes an appearance target; it does not, by itself, prove coating adhesion, chemical resistance or service life. If those properties matter, identify the intended exposure, test method and acceptance limits when requesting the finish.
Also ask whether every surface needs paint. A visible front housing and an internal locating feature do not necessarily need the same treatment. Leaving a feature uncoated may be appropriate, but it should be an agreed design decision rather than an assumption made during spraying. Where painting is not required, compare it with the other available surface finishing services.
Prepare the Surface According to the Manufacturing Route
The preparation workload depends on the part that enters the finishing operation. A machined surface, a printed surface and a molded surface should not be treated as identical just because they will receive the same final color.
At SAMSHION, the usual CNC plastic prototype sequence is machining, manual deburring, sanding of appearance surfaces, fitting and trial assembly, followed by painting, screen printing where required, and dimensional and appearance inspection. Printed and vacuum-cast prototype parts also require manual finishing. Injection-molded jobs generally need fewer of these manual operations and normally do not require filler in our usual workflow.
Refine the Surface Without Changing the Design
Hand finishing needs boundaries. On a cosmetic outer face, removing visible tool marks may be the objective. On a locating edge, a snap feature or the seating surface for a cover, excessive material removal can change the part. Mark the protected geometry so that the finishing team is not asked to infer its importance from appearance alone.
Trial assembly before painting helps separate problems already present in the parts from those introduced by finishing. Record any fitting changes against the relevant revision. If a component is hand-adjusted to fit one particular mating part, decide whether matched-pair delivery is acceptable or whether interchangeable assembly is required.
Use Filler and Primer for an Agreed Purpose
In SAMSHION’s workflow, areas repaired with filler receive primer before the finish coat. That does not mean every part needs filler, or that primer is unnecessary wherever filler is absent. The substrate and selected coating system still determine the required preparation and intermediate coats.
Filler is not a substitute for correcting an unacceptable structural feature or a critical dimension. If a visible depression is also evidence of a design or manufacturing problem that the prototype must reveal, agree on the repair before concealing it. Record any repair that affects how the customer should interpret the sample.
Confirm Cleaning and Material Compatibility
A part that looks clean is not automatically ready for paint. Identify the actual resin or material grade and use cleaning and preparation methods compatible with both the plastic and the coating system. The same solvent should not be assumed suitable for every plastic.
For example, the acrylic manufacturer explains that PLEXIGLAS surfaces must be free of contamination before painting and warns against certain cleaning solvents in its guidance on painting PLEXIGLAS. This is a reason to check the relevant material guidance, not a claim that every PMMA grade or coating combination has the same processing instructions.
Select the Coating System Before Setting the Final Dimensions
Specify more than the topcoat color. Depending on the job, the finish may involve surface preparation, a primer or other intermediate treatment, one or more color coats, and an optional clear coat. The complete sequence matters to compatibility, appearance and total film build.
Do not add primer, an adhesion promoter or a clear coat simply because another plastic part used it successfully. Conversely, do not omit a required layer to preserve an assumed thickness allowance. Select the system for the actual substrate and intended finish, following the relevant coating supplier’s instructions.
The agreed process should also account for the part’s response to the proposed drying or curing conditions. A schedule suitable for one coating and geometry is not automatically suitable for another. Application settings, mixing ratios and curing times belong to the selected product’s processing instructions; there is no useful universal spray recipe for all the parts covered here.
Keep handling readiness separate from readiness for assembly, packing or a specified performance test. Define the appropriate stage for each activity rather than judging all of them from whether the surface feels dry. If production will use a different resin, preparation method or coating system from the prototype, plan a new finish approval for that combination.
Approve Color Gloss and Cosmetic Zones
At SAMSHION, the appearance reference can be a customer-supplied color code, a physical color swatch or a sample part. Color, gloss and visible surface particles are compared visually according to the customer’s requirements, using the agreed light source and viewing distance.
If references conflict, we ask the customer to confirm the intended target. Where needed, a sprayed color sample is prepared for approval before proceeding. A supplier should not silently decide that a color code overrides a sample, or that the latest photograph replaces an approved physical reference.
Give the Reference a Clear Identity
Record the reference name or code, revision or approval date, and the surfaces to which it applies. When a spray-out sample is used, identify its substrate and coating build. A flat sample can establish the intended appearance, while a finished part may still be needed to review curved faces, edges and color boundaries.
Use consistent comparison conditions. BYK’s guidance on visual color evaluation explains why lighting and the viewing environment matter, including the possibility that two samples match under one light source but not another. Agree on the relevant conditions for the product rather than relying on unrelated room lighting or a phone photograph.
Gloss needs its own reference. Two surfaces described by the same color code may still look different when one is glossy and the other is matte. If numerical color or gloss limits are required, agree on the measurement method and reporting separately. SAMSHION’s visual comparison should not be represented as an automatic colorimeter or gloss-meter measurement.
Separate Primary Cosmetic Surfaces From Other Surfaces
A surface map makes acceptance more practical. Identify the main faces seen during normal use, other visible faces, and areas normally hidden after assembly. The customer can then set appropriate requirements for each zone, including the treatment of visible particles, scratches, surface texture and mask boundaries.
Do not invent a universal viewing distance or particle-size limit. Record the customer’s agreed conditions and acceptance criteria. A limit sample can help communicate a borderline condition that is difficult to describe in words.
Non-cosmetic does not mean unrestricted. A hidden surface may still control fit, sealing, bonding or component clearance. Keep its functional requirements even if its appearance requirements are less demanding.
Treat Translucent Paint as a Separate Appearance Requirement
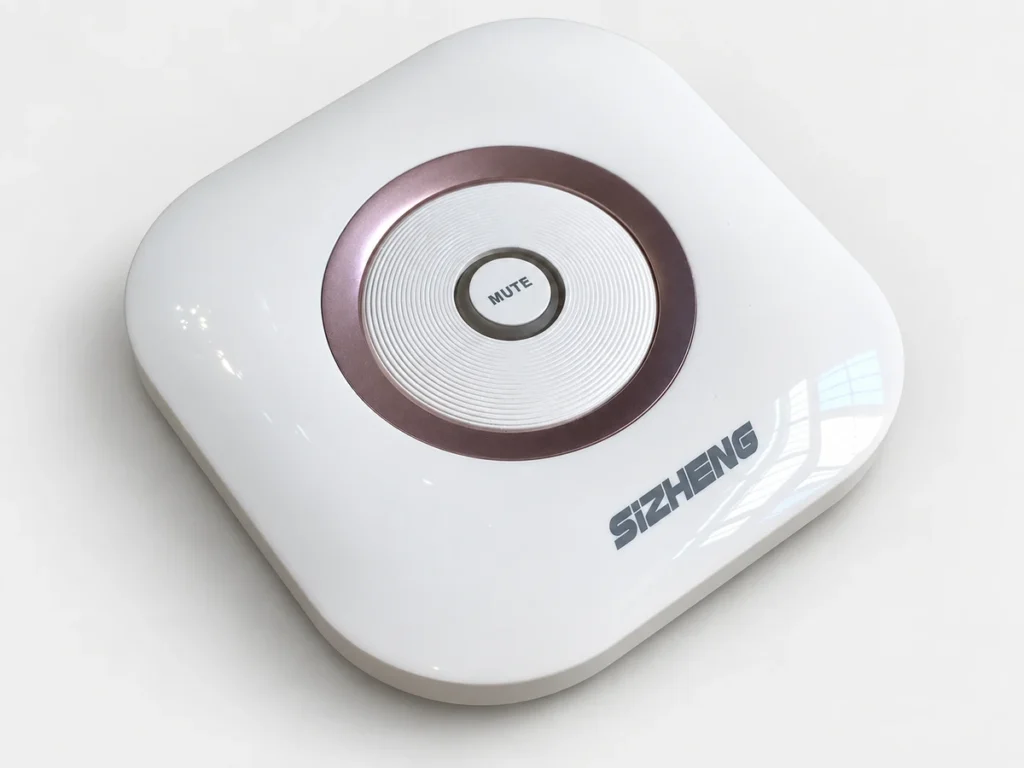
White does not necessarily mean opaque. A clear PMMA component can be given a translucent white appearance through painting, but the intended effect should be described and approved as such. A request for white paint alone does not explain how much of the background or internal assembly should remain visible.
For a translucent part, agree on which surface is painted and the conditions used to review it. The appearance with a dark internal component behind it may differ from the appearance of a loose sample on a white table. If the product includes illumination, review the relevant illuminated condition as well as its unlit appearance. Do not infer a numerical light-transmission requirement from a photograph.
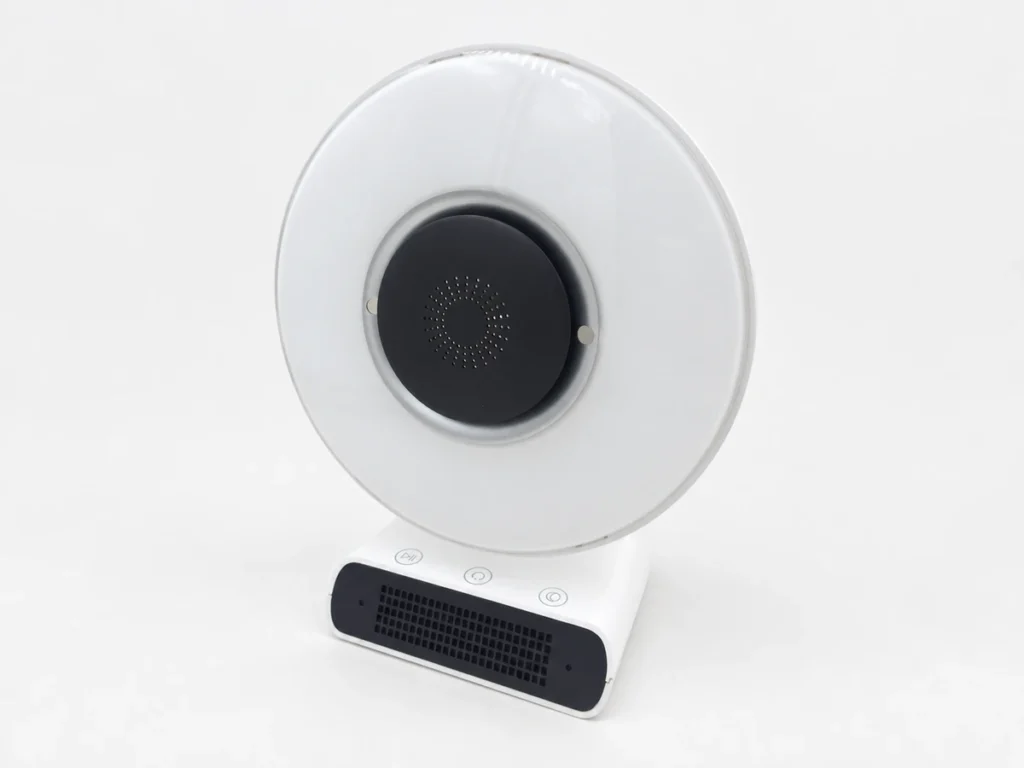
One SAMSHION Bluetooth speaker prototype used a CNC-machined PMMA panel with a sprayed translucent white finish. Its remaining parts were CNC-machined ABS with painting and screen printing. This illustrates a finish choice on two substrates; it does not establish optical performance for every painted PMMA part.
Allow for Paint Thickness in Assembly Fit
Paint occupies space. A cover that fits before painting may not have the same clearance after both mating surfaces receive a finish. Dimensions should therefore state whether they apply before or after painting, and the assembly review should identify every coated surface in the fit.
For some conventional paint jobs, SAMSHION commonly starts with approximately 0.02 mm, or 20 micrometers, of allowance on a single surface. This is a practical planning reference, not a universal paint-thickness specification or a guaranteed measured value. It excludes the additional allowance needed for primer or multiple paint layers. Different finish effects and coating systems require their own assessment.
Count the Surfaces That Consume the Clearance
For two opposing flat surfaces, the nominal gap after coating equals the original gap minus the coating on each face. In an illustrative example, a 0.12 mm gap with 0.02 mm on each opposing face becomes 0.08 mm before considering dimensional and coating variation.
Holes and cylindrical mating parts need particular care because coating changes a diameter on both sides. The following relationships assume an ideal uniform film and are geometric examples, not acceptance values for a particular product.
In that hole-and-plug example, the diametral clearance decreases by 0.08 mm, while the corresponding radial clearance decreases by 0.04 mm. Mixing up single-surface allowance, radial clearance and diametral clearance can therefore produce a substantial error even when the paint seems thin.
Review Variation as Well as Nominal Film Build
Nominal arithmetic is only the first check. The smallest permissible hole, largest permissible mating part and largest relevant coating build create the restrictive fit condition. Coating distribution around edges, recesses and mask boundaries may also differ from the simple uniform-film model.
Agree on a realistic coating range for the selected system before using it in a worst-case assessment. If the required fit cannot tolerate that range, options include revising the geometry, changing the finishing boundary, specifying an appropriate uncoated mating area or reconsidering the finish. Each option needs design approval. The related tolerance stack-up guide explains how mating dimensions and their variation combine.
Final assembly verification should use parts in the agreed finished condition. A successful unpainted trial fit is useful evidence about the original geometry, but it does not replace the post-finish check.
Plan Masking and Screen Printing Together
In SAMSHION’s usual work, masking is used for color separation, multicolor painting and customer-specified masking requirements. Additional no-coat areas for functional reasons should be identified and agreed during the design review, rather than assumed to be part of every job.
Use a marked drawing to show paint boundaries, unpainted areas and the relationship between adjacent colors. Define where a mask edge can remain visible and whether an edge must align with a seam, a recess or another feature. A color rendering is helpful for appearance, but it may not define a manufacturable boundary clearly enough on its own.
For screen printing, provide approved artwork, text, color references, orientation and a position referenced to identifiable part features. Confirm which painted surface receives each graphic. If a printed area is near a moving component or mating interface, include it in the finished-part review rather than treating the artwork as unrelated decoration.
Approve the painted finish and the printed layout as separate items when they are controlled by separate references. A correct paint color does not resolve a misplaced graphic, and a correct logo position does not resolve an unacceptable surface finish.
Investigate Paint Defects Before Choosing Rework
A visible defect is a starting point for investigation, not proof of a single cause. Record when it appeared, which surfaces are affected and whether it repeats across parts. Compare the unpainted surface, the preparation record, the selected coating system and the actual application conditions before deciding what to change.
The table below is general troubleshooting guidance, not a record of failures in the pictured SAMSHION projects. The coating references cited below concern automotive refinishing; they support common defect mechanisms, but their specific repair procedures must not be transferred automatically to a custom plastic part.
Axalta’s paint defects manual identifies preparation and coating-system selection as important checks for adhesion loss on plastic. PPG separately discusses application factors for orange peel, runs and sags, and sand scratch swelling. The selected industrial coating supplier’s instructions remain the basis for the actual process.
Rework also needs limits. Additional sanding can remove substrate material, while recoating can increase the finished envelope. A repair that improves appearance may therefore require renewed dimensional and assembly inspection. Obtain approval before a repair changes a controlled feature or the meaning of a prototype test.
Inspect the Finished Part Against the Agreed Requirements
An effective inspection plan separates appearance, dimensions, assembly and any requested coating-performance tests. This makes the delivery evidence easier to interpret and avoids implying that one type of inspection proves another.
For appearance, compare color, gloss and visible particles with the approved reference under the agreed light source and viewing distance. Apply the customer’s requirements for primary cosmetic and other surfaces. Include color boundaries, graphics and any agreed limit samples in that review.
For dimensions and assembly, inspect the features that control the finished product. Confirm that the drawing identifies the after-paint requirements. Where assembly verification is part of the scope, agree on the mating components and what must be checked, such as seating, cover closure or unobstructed movement. The acceptance method should reflect the actual function, not just whether two parts can be forced together once.
If adhesion, abrasion, chemical resistance, gloss measurement or coating-thickness measurement is required, specify the method, test condition, sample quantity and pass criteria before manufacture. Also agree on whether testing may damage a sample. A thickness-measurement method must suit the plastic substrate and geometry; the availability of a gauge does not by itself establish a valid measurement.
SAMSHION normally provides dimensional and appearance reports with sample delivery. Material reports, CMM reports and other requested records are arranged according to the customer’s requirements and agreed scope. Do not assume that a default appearance report includes instrumental color data or coating-performance testing.
Packing requirements should preserve the approved finish. Agree on the condition in which parts may be handled and packed, and consider which painted faces could rub against packaging or adjacent components. Where the appearance is critical, review the proposed packing with the finished sample rather than only with an unpainted part.
Understand What Changes Painting Cost and Lead Time
The amount of paint is only one part of the workload. Hand preparation, access to complex surfaces, the number of colors, masking boundaries, graphics and approval cycles can all change the required effort. Two parts with similar overall dimensions may therefore require quite different finishing plans.
A highly visible surface with demanding appearance limits may require more preparation and review than an internal cover. A multicolor boundary around a curved feature adds a different problem from a single-color flat face. A translucent finish may need an appearance sample that includes the intended background or assembly condition.
State the intended quantity and whether the job is a one-off prototype, a repeated prototype build or production. SAMSHION supports painting for both prototypes and injection-molded parts, but the preparation workload is not necessarily the same. For injection molding projects, approve the actual molded substrate and proposed painting process rather than relying only on a painted CNC prototype.
Schedule planning should include any spray-out approval, the coating’s required process intervals, inspection and packing. Ask for a quotation based on the complete finish specification instead of assuming a universal painting lead time. Late changes to the reference sample or masking map can require a new approval cycle even when the base geometry has not changed.
What to Include in a Plastic Painting Request
A useful request gives the manufacturing team enough information to review both the finish and its effect on the part. Provide the following items, marking unresolved decisions rather than filling them with assumed requirements.
- Current 3D model and drawing revision, manufacturing route, actual plastic material or grade, and quantity.
- Paint and no-paint areas, color boundaries, primary cosmetic surfaces and protected functional features.
- Color code, physical swatch or sample reference, required gloss or texture, and any translucent appearance requirement.
- Dimensions that apply after finishing, mating parts, assembly clearances and any proposed coating allowance.
- Known primer, topcoat or other coating requirements, with room for a compatibility review where the system is not yet selected.
- Screen-printing artwork, location, orientation and separate graphic-color references where applicable.
- Agreed appearance viewing conditions, acceptance criteria, requested performance tests and delivery reports.
- Approval responsibilities, required delivery date, and whether spray-out or finished-part approval is needed first.
If the color code and physical sample disagree, identify the conflict at quotation or sample approval. If a clearance is critical, provide its acceptable finished range rather than only a nominal paint thickness. If performance testing is not required, do not use a visual approval as a substitute for test evidence later.
Frequently Asked Questions About Painting Plastic Parts
Can both prototypes and injection molded plastic parts be painted?
Yes. SAMSHION paints CNC-machined, 3D-printed, vacuum-cast and injection-molded plastic parts. Preparation depends on the material, surface condition and required finish. Prototypes generally need more manual surface finishing, while our usual injection-molded painting jobs involve fewer manual steps and normally do not require filler. The coating system must be suitable for the actual substrate.
How much assembly clearance should be allowed for paint?
For some conventional paint jobs, SAMSHION uses approximately 0.02 mm per coated surface as an initial planning allowance. This is not a universal paint-thickness specification and excludes additional primer or multilayer coating build. When both mating surfaces are painted, both layers reduce the available clearance. Confirm the complete coating system and required finished fit before finalizing dimensions.
What should customers provide for paint color and appearance approval?
Provide a color code, physical color swatch or reference sample, together with the required gloss and clearly identified cosmetic surfaces. If references conflict, SAMSHION requests clarification or prepares a sprayed sample for approval. Color, gloss and visible surface particles are compared visually under the agreed light source and viewing distance, following the customer’s acceptance requirements.
Make the Finish Part of the Engineering Review
A successful painted plastic part combines an appropriate substrate, controlled preparation, an approved appearance reference and enough allowance for the finished assembly. The coating should be reviewed while the design can still accommodate it, not added after every mating dimension has been fixed.
For an upcoming project, send SAMSHION your drawings and finishing requirements. Include the appearance reference, paint boundaries and assembly priorities so that the proposed preparation, coating and inspection scope can be reviewed together.